Sunday, October 9, 2016

Healthy Stir Fry

I'm definitely a foodie who finds it hard to say no to delicious but bad for you meals, but I also know that getting the right nutrients and incorporating healthy foods in your diet is very important. It's even more important to me now that I am expecting my second child. The only problem with that is, as I get deeper into my second trimester, I am continuously craving salt and fat (hellooo triple layered chocolate cake!). So it's been a little challenging to try to come up with good healthy food that satisfies me at the same time. I came up with a recipe with some fat from ground chicken and avocado oil and it is salty enough to make me happy.

I'm a fan of stir fry because it's easy to make, can include tons of veggies, you can make it with anything, and it always tastes great.

I never make the same stir fry twice because I tend to just make it with whatever I have hanging around at the time. This particular recipe came out of having a pound of ground chicken in the freezer and an eggplant that needed to be used. A lot of stir fry recipes will use thicker and/or sweeter sauces (like oyster sauce, teriyaki sauce, hoisin sauce, etc.), adding more calories. While those sauces certainly taste great, this is a stripped down, healthier version of a stir fry that gets all of its flavor from using fresh vegetables (instead of frozen or canned) and is super satisfying. It was one of my favorite dishes by far (of course that could just be pregnancy talking :)) so I thought I would share it. This recipe is pretty balanced and provides me with much needed nutrients such as Potassium and Vitamin C. The rice gives me some additional Folic Acid that is great for the baby.

Just a note about rice - brown rice provides more protein and fiber than white rice, though calorie-wise they are relatively the same. I should eat more brown rice, but the Filipina in me causes me to go back and forth between the two each time I make it. For a healthier and more nutritious option, I suggest a good medium grain brown rice.

Serves 4.

Ingredients

1 lb ground chicken
2 cloves fresh garlic (minced)
1/2 medium yellow onion (roughly chopped)
Half an Italian eggplant (sliced or cubed)
1 red bell pepper (chopped)
a handful of fresh basil (chopped)
3 tbsp soy sauce (try low sodium)
1 tbsp avocado oil
3 oz shredded carrots
1 C rice (makes 2 Cups cooked)
Salt/Pepper as you wish

Prepare rice for later - I use a rice cooker so that I don't have to watch it carefully. Always cook rice with 1 part rice to 2 parts water (2 Cups water in this case). Heat a tbsp. of the avocado oil in a skillet or wok and saute the eggplant on its own. Eggplant soaks up the oil quickly so be sure to stir frequently and add a little more oil at a time as the eggplant cooks. Set the eggplant aside. In the same skillet or wok, using the remaining avocado oil, brown the ground chicken with garlic and onion. Add the remaining ingredients, stirring frequently on medium heat. Once the vegetables start to get a little soft, remove from heat and toss in the eggplant. Serve over 1/2 cup of rice. If you want a little spice with no additional calories, I always add a sprinkle of red pepper flakes.

Nutrients

CALORIES - 1 serving - 551 (this is with mahatma jasmine rice)
PROTEIN - 43%
CARBOHYDRATES - 32%
FAT - 25%

Tuesday, January 19, 2016

The Year for More Filipino Cooking...

Here we are again, January, it's another new year. So I guess I'm ready to do a handful of posts before I get distracted with something shiny in the sand and fail once more at being a good blogger. Maybe this year I'll be better :)

We just made a long awaited move to Sunny San Diego which allowed us to spend the holidays with family. Being with family always makes me want more and more Filipino food. From the standard party fare like pancit and lumpia to spam and rice for breakfast and dinuguan and pinakbet and longanisa and my this list could go on forever.  There are so many foods that I love so much but rarely get to eat so, this year, I plan to cook many more Filipino foods. More specifically, I plan to work on some amazing dishes that I haven't yet learned to cook. Well, I just recently learned how to make Tortang Talong, and since a great friend, who I know enjoys food and culture as much as I do, asked me for this recipe, I decided it should go here.

One of my favorite vegetables is eggplant. I love it so much that usually if eggplant exists on a restaurant menu I will order it, prompting people to ask me "oh, are you a vegetarian?" No, no, no. I do respect vegetarian cuisine greatly, but I was born a meat eater! Eggplant just sometimes seems to be one of those vegetables that gets reserved for vegetarians, but WHY? It's so great. So I will share here my recipe for Tortang Talong, or Filipino Eggplant Omelet. It's an excellent eggplant recipe for you meat eaters. For you vegetarians, I promise this dish will still taste amazing if you cut out the meat.

Ingredients

1/2 lb ground meat (pork, beef, turkey)
3-4 cloves garlic, minced
1/2 medium onion, minced
3 medium sized carrots, peeled and diced
2 Chinese eggplants
3 large eggs, beaten
2 tbsp. soy sauce
Salt and pepper to taste
1 tbsp. Vegetable or coconut oil

Instructions

  1. Broil the eggplants on a low setting for about 4 minutes, flip and broil 4 more minutes.
  2. Peel off the charred skin, but keep the crown and stem. Flatten the flesh and set aside.
  3. In a pan, brown the ground meat with the garlic and onion. Drain if necessary. Season with salt and pepper. Transfer to a bowl.
  4. Once the mixture is cooled, add the eggs and mix well.
  5. Add ½ tbsp. of the coconut oil to the pan and heat the pan. Add the flattened eggplant to the pan and spread half of the omelet mixture on top of it.  Cook for about 3 minutes, then carefully, using the stem and a spatula, flip the omelet and cook the other side for about 2-3 more minutes.
  6. Drain on a paper towel if necessary.
  7. Enjoy!
Note: For you spicy food lovers, in the picture above, I threw in some green chiles. You can also add fresh diced jalapenos or some good ole Tapatio.


Sunday, February 8, 2015

Birthday Cake: Follow up to another post

One of my dearest friends absolutely loves Heath Bar so when I was asked to make her birthday cake, I knew exactly what I would do. I used the recipe from my previous post on Heath Bar Mochaccino Cupcakes and turned it into a cake. Everyone gushed over this cake and every single last piece was gone before the party was over. I guess this is the new favorite! I won't post the recipe here since it is in the last post, but here are some photos of the process. I will say that I added some dark chocolate cocoa to the outer layer of icing for extra chocolate.

Happy Birthday, Maria!


Monday, January 19, 2015

Heath Bar Mochaccino Cupcakes

Cupcakes are still popular, at least for me! I've actually made these multiple times in the last year and they have become a favorite amongst my friends so I thought I should post them. When I want to make anything with chocolate cake, I always use the same devils food cake recipe because it is extremely moist and works well when adding extra ingredients (nuts, chocolate, candy, etc.).  I've posted this recipe before in the blog about Chocolate Raspberry Cupcakes.

For these cupcakes, I add about a third of a cup of Heath Bits o Brickle Toffee bits to the batter. Then I make a Mochaccino  flavored cream cheese frosting. When decorating, you can choose many different toppings, but I like to take the candy that inspired me (in this case, an actual chocolate covered Heath bar) and use pieces of it for the topping. Now, I am not usually one to advertise brands, but this time, I used the Dutch Process High Fat Cocoa Powder from Penzeys, and man, was it tasty. I couldn't believe that you could tell the difference.


Devil's Food Cake

Ingredients:

2 cups all-purpose unbleached flour 
1 1/2 teaspoons baking soda
3/4 teaspoon baking powder
3/4 teaspoon salt
12 tablespoons unsalted butter, at room temperature

2 cups sugar
3/4 cup cocoa powder 

2 teaspoons pure vanilla extract
3 large eggs, at room temperature
1 1/4 cups water
1/4 cup milk

1/3 cup Heath bits o brickle toffee pieces

Directions: 

Preheat oven to 350 degrees.

Lightly butter or spray your muffin pans, or prep with muffin cups. In a medium bowl, whisk together the flour, baking soda, baking powder, and salt. Set aside. In a large bowl, beat the butter at medium speed until smooth, about 2 minutes. Increase the speed to medium-high and slowly add the sugar. Continue beating until light and smooth. Add the cocoa powder and vanilla and beat at medium speed for 1 minute more. With the mixer running at medium-low speed, add the eggs, one at a time, beating for 1 minute between each addition.

Combine the water and milk in a saucepan and bring just to a boil. Remove from the heat.

With the mixer at low speed, add the flour mixture, about a 1/4 cup at a time. Carefully pour the hot liquid into the batter. Remove the bowl from the mixer and, using a large rubber spatula, finish combining the batter until smooth. Fold in the bits o brickle.


Divide the batter evenly into each of the muffin cups and bake for 20-25 minutes - keep an eye on the cupcakes as different types of pans and altitude affect the baking time.

Let cool completely before decorating. This is very important because the cake can break apart if it isn't cooled.

Mochaccino Frosting

Ingredients:

8 oz. (1 stick) unsalted butter, softened
8 oz. cream cheese, softened
4 cups powdered sugar
2 teaspoons vanilla extract
1 teaspoon cocoa powder
1 1/2 teaspoons dark roast instant coffee
3 oz. hot water
 

Directions:
In small bowl, combine hot water and 1 teaspoon of instant coffee until dissolved and set aside to cool. Reserve other 1/2 teaspoon of instant grounds. In a large bowl, beat together the butter and cream cheese. Add powdered sugar, one cup at a time, until smooth and creamy. Add vanilla, 3 oz. prepared coffee and remaining coffee grounds, mix well. 

Frost the cupcakes and top with smashed pieces of heath bar, or your choice of topping. Sometimes, I will even fill the cupcakes, just slightly, with the frosting to add that coffee flavor a little deeper into the cake. 

Enjoy!
 

Sunday, January 4, 2015

Here's to a new year...

So, clearly, I am a lazy blogger. Not one post from 2014. It is a little sad that I haven't been more diligent about it because 2014 was full of tons of great food, both in restaurants and new recipes that I've tried at home. I hope to be better about blogging in 2015. For now, I will post some photos of some of the awesome food that helped make 2014 such an excellent year. There will be some follow up posts with some of these to include more detailed descriptions and recipes!

Pancit Canton
Chicken and Quinoa stir fry


Fried Green Tomatoes
Smoked Sausage and Vegetable Soup

Snickers: PB/salted caramel center
Mounds: coconut candy center
Halloween baby shower cupcakes
Lechon
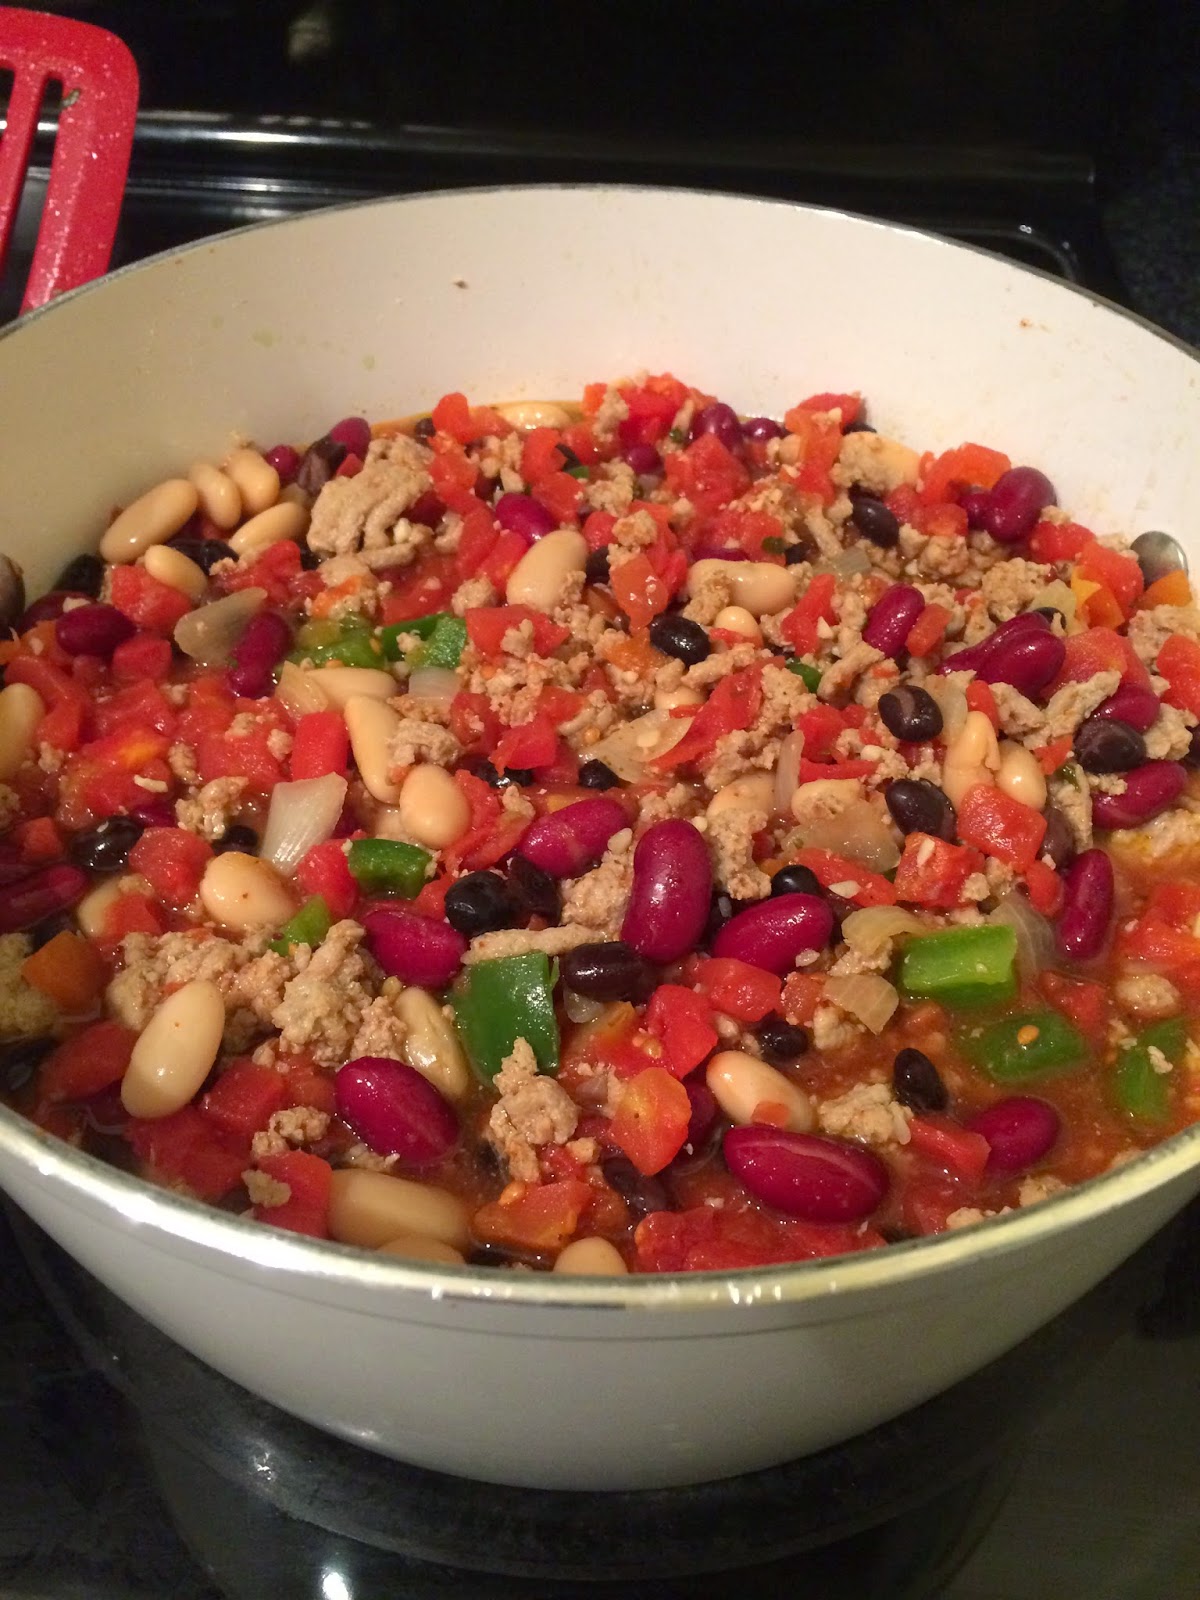
Chicken and Three Bean Chili

Wednesday, August 7, 2013

Reese's Cupcakes

I've decided candy bars are great for cupcake inspiration. Because so many people love peanut butter, I decided Reese's would be my first candidate. Now, I have made these cupcakes several times for cookouts, work events, just for fun, and they are a hit every single time.

You can start with devil's food cake (recipe here), or even just grab a box of devil's food or any other chocolate cake from the store to bake. Then you fill the cupcakes with peanut butter icing/filling, top with peanut butter - chocolate frosting, then decorate with a Reese's peanut butter cup minis.

I am fortunate to have a super awesome big sister to buy me these fancy little cupcake tools to remove the filling, but before I had these, I simply used a 1A round tip, pushed it into the cupcake and squeezed in filling until just before the cupcake seemed like it would burst.  For those of you who want to achieve the same flowery swirl that's in the photo below, I used a 1M tip for that and iced from out to in.

If you make mini cupcakes, believe it or not, you can still fill them!


Peanut Butter Filling

1/2 C. butter, softened
1 C. creamy peanut butter
2 tbsp. milk
2 C. confectioners (powdered) sugar

Mix butter and peanut butter, then gradually mix in sugar, adding milk as necessary for a creamy filling. Fill cupcakes.

Peanut Butter - Chocolate Frosting

1 C. butter, softened
1 C. creamy peanut butter
4 C. powdered sugar
1/4 C. milk
3 tbsp. cocoa powder
2 tsp. vanilla

Mix butter, peanut butter, and vanilla, then gradually mix in sugar, adding milk as necessary.

Hope you enjoy these!


Tuesday, August 6, 2013

Balsamic Roasted Brussel Sprouts

I've always loved brussel sprouts, even as a kid. But many people really don't. I encourage you to try these if you're one of those people. Every time I make these for some occasion, at least one person declares they've never really liked brussel sprouts, they go ahead and try one to be polite, and then ask me for the recipe.  It's super simple.

Start with a homemade balsamic vinaigrette.  Wash the sprouts and toss in the vinaigrette. Put in a baking dish. Sprinkle with some seasonings, and then bake at 350 degrees for about 35 minutes, until they start to soften and can be penetrated with a fork. Turn on the broiler for the last 5 minutes to crisp and brown the edges and you have this very tasty and healthy side dish.

Balsamic Vinaigrette

3/4 C. extra virgin olive oil
1/4 C. balsamic vinegar
2 - 4 cloves garlic crushed
1/2 tsp. salt
1 tsp. course ground black pepper

Mix or shake all of the ingredients together in a bottle.

Brussel Sprouts

1 lb brussel sprouts
1/2 tsp. sea salt
1/2 tsp. garlic powder
1/4 tsp. onion powder
1/4 tsp. oregano
1/4 tsp. thyme
1/4 tsp. cayenne pepper
enough balsamic vinaigrette to coat sprouts

And of course, if you like spicy like I do, once the sprouts are cooked, add a little Tapatio and these are perfect!